The official source of news and updates about Envoyce
Creating invoices
Creating invoices in Envoyce is primarily a point and click process. You can either create your customers and products ahead of time, or create them as you go & when you need them. Products will inherit its description and cost from its main record, but these values can be overwritten.

by Chris Hargenson
01 May 2024
Steps
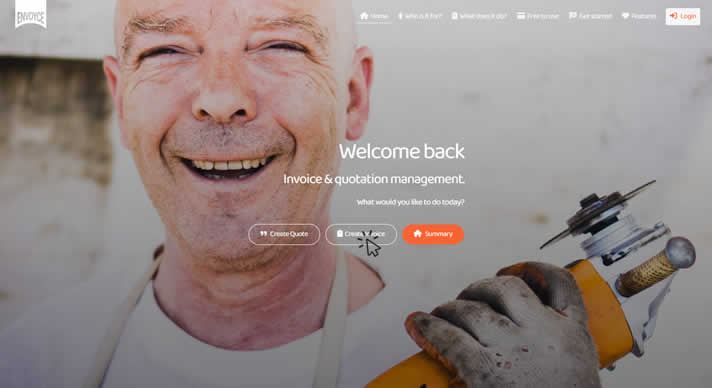
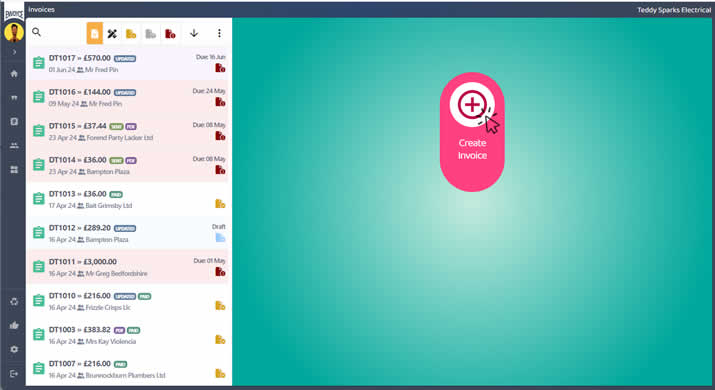
- From the homepage, click the Create Invoice and proceed to Login with your user account and password. Once loaded, select the Invoices tab from the left menu.
- Select the [Create] button.
- The new Invoice page will appear, and a dropdown of all of your customers will be shown.
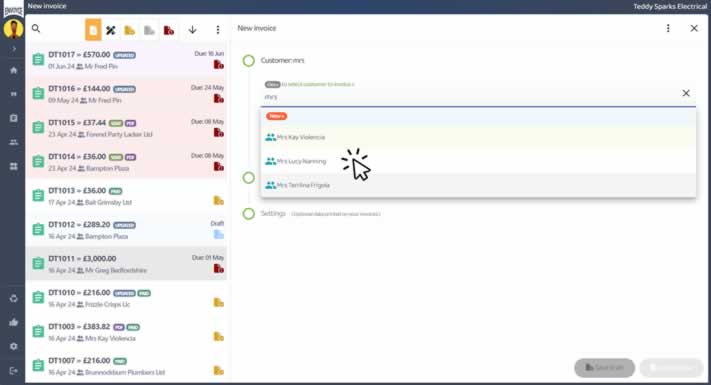
- Start typing the name of your customer to filter the list.
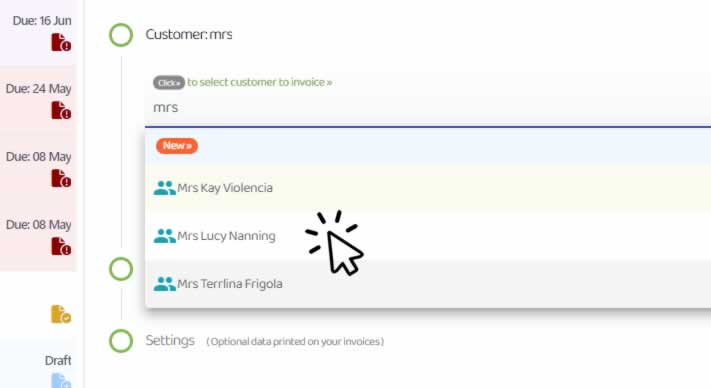
- Select the customer to be invoiced.
- If your customer is new and does not appear in your list, you can either abandon this invoice and create your customer first, or create your new customer right now.
- To create your customer now, click the [New] button at the top of the customer list.
Creating a new customer in an invoice.
Once you have selected your customer move to the next step. - The "Invoice items" step will be shown. Start typing the name of your product to filter the list & select the first item to be included on the invoice.
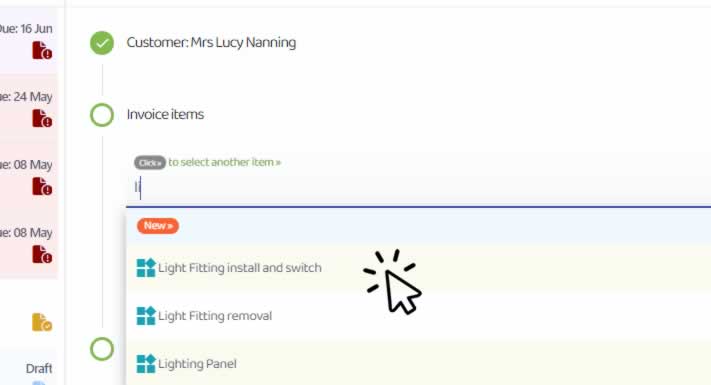
- If your product is not shown, you can either abandon this invoice and create your product first, or create your new product right now.
- To create your product now, click the [New] button at the top of the product list.
Creating a new product in an invoice.
Once you have selected your product it will appear in the selection grid. - The product description, price and quantity are shown. You can edit these values and increase quantities. The corresponding line total will update automatically. NOTE: if you DO make changes to the invoices product lines, the changes will only be effective on this specific invoice. The main product entry will remain unaffected.

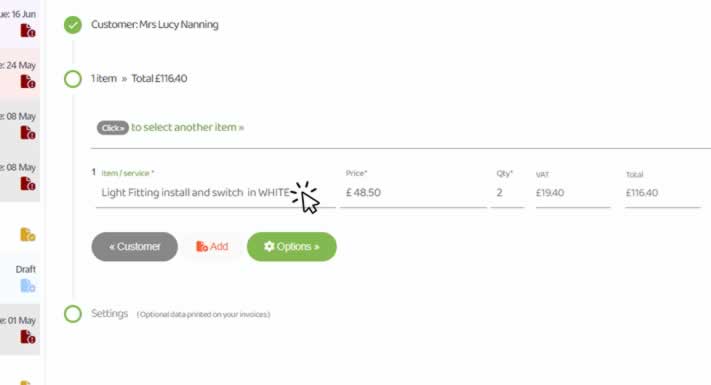
- You can now add another product to this invoice, by clicking the [Click to select another item] button and selecting the product in the same way as before.
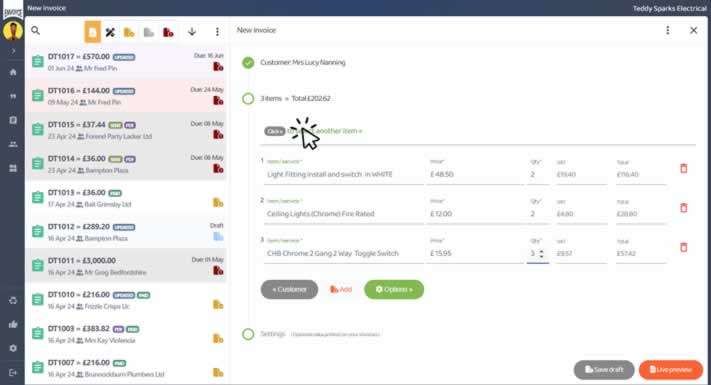
- When you are done adding all your invoice lines, click the [Live preview] button. A panel will open and your new invoice will be shown.
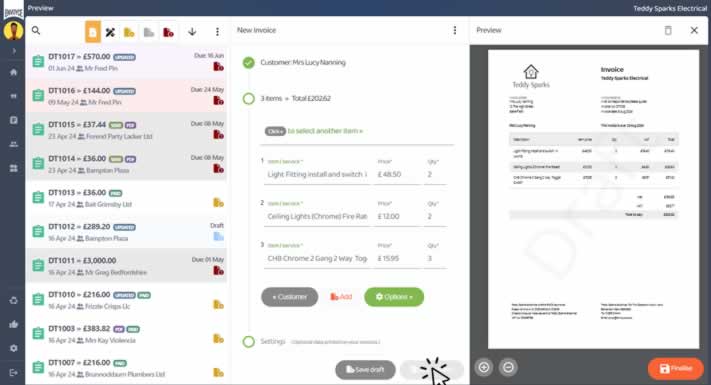
- At this moment you can inspect your invoice, add/remove invoice lines and changes prices and quantities. Totals will adapt and update automatically.
- If you are ready to send your invoice click the [Finalise] button in the preview pane. If you want to just save this invoice as a draft, click the [Save draft] button. Draft invoices CAN be changed, finalised invoices CAN NOT.
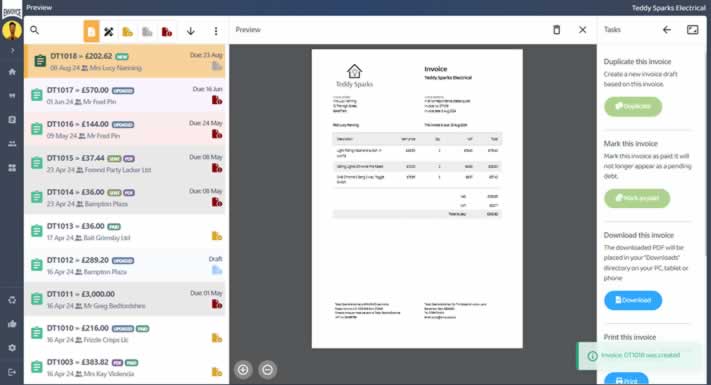
- If you clicked the [Finalise] button, the edit pane will dissappear, the invoice will no longer be a draft and the tasks panel will be shown.
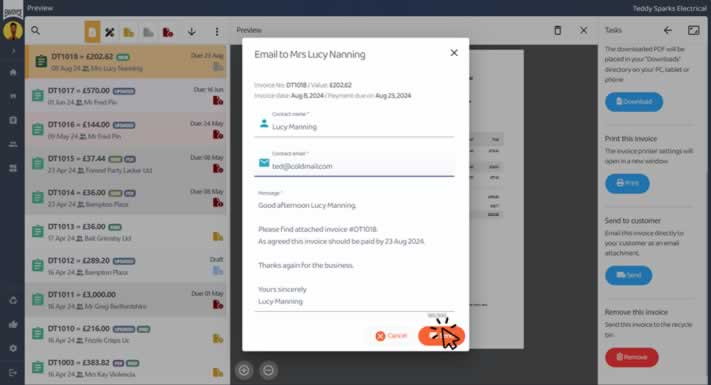
- Click the [Send] button from the list of tasks. The Email dialog will appear. Check that the contact details are correct for your customer or change them now.
- Click the [Send] button, your invoice will be automatically emailed to your customer.
You are all done.